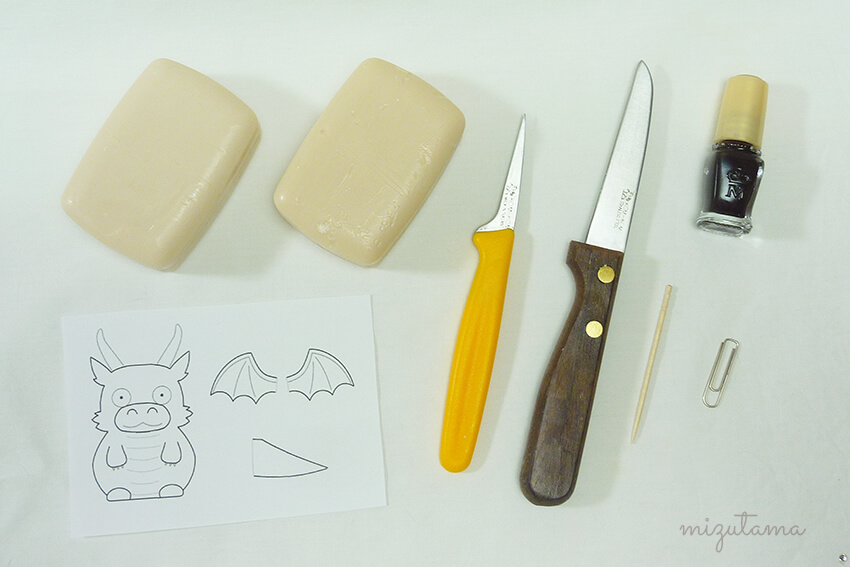
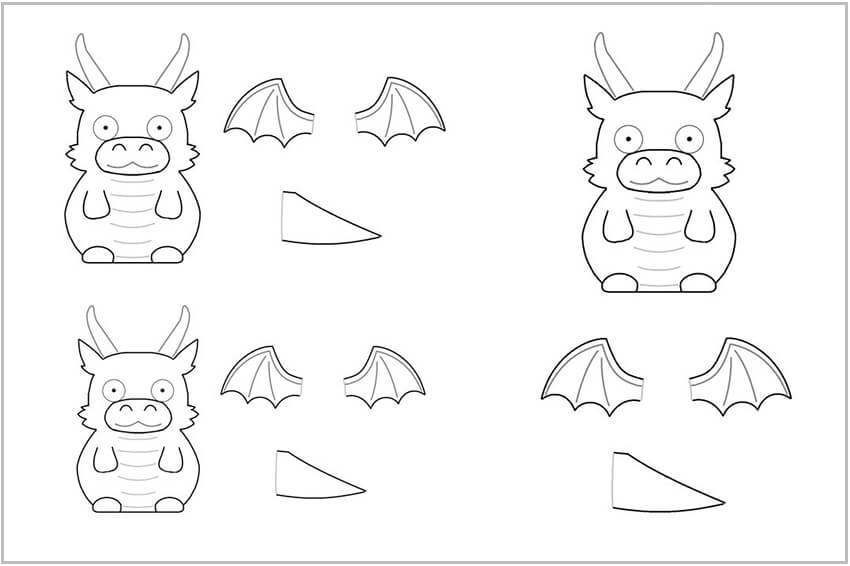
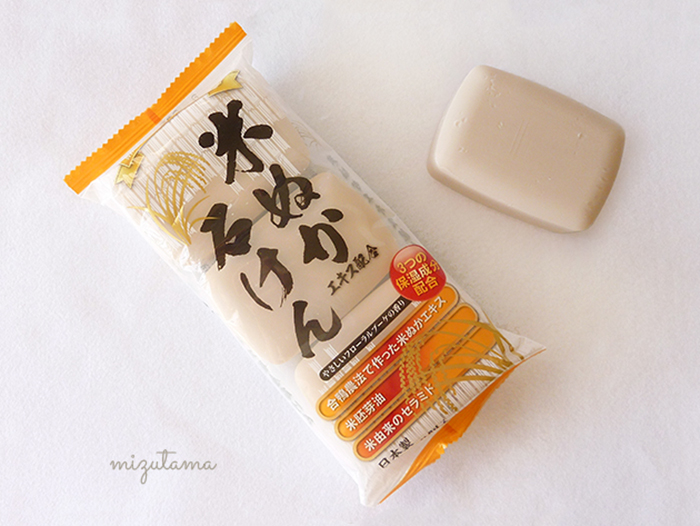
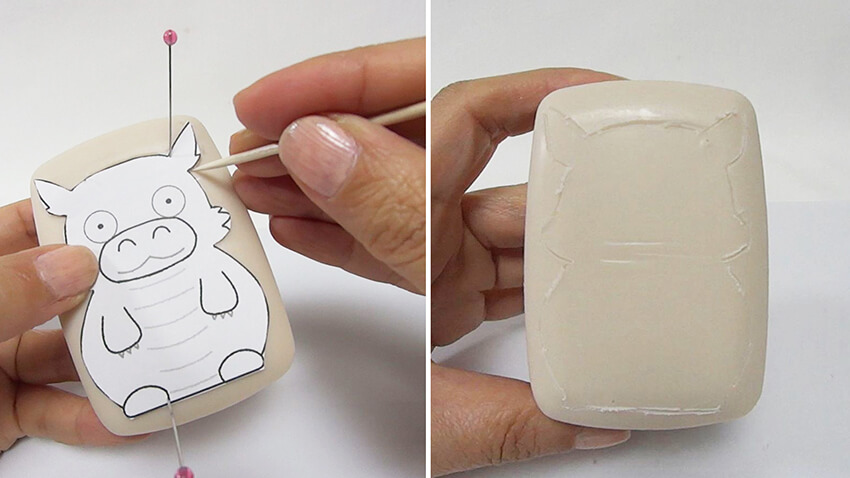
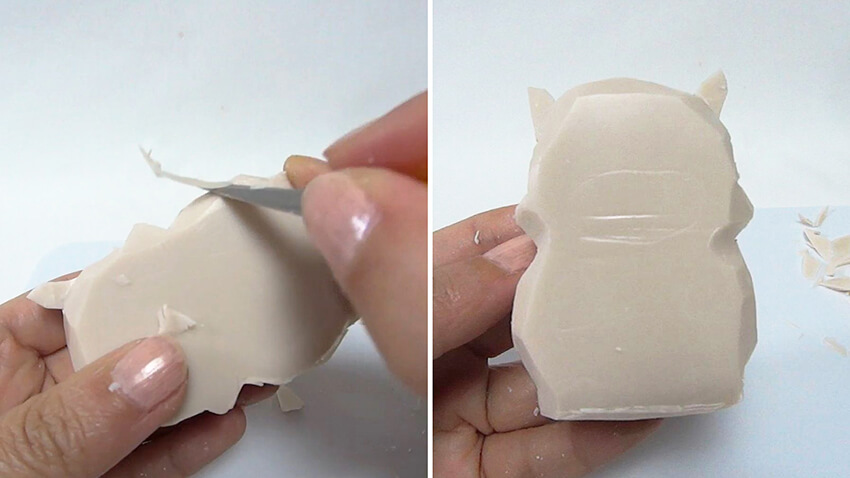
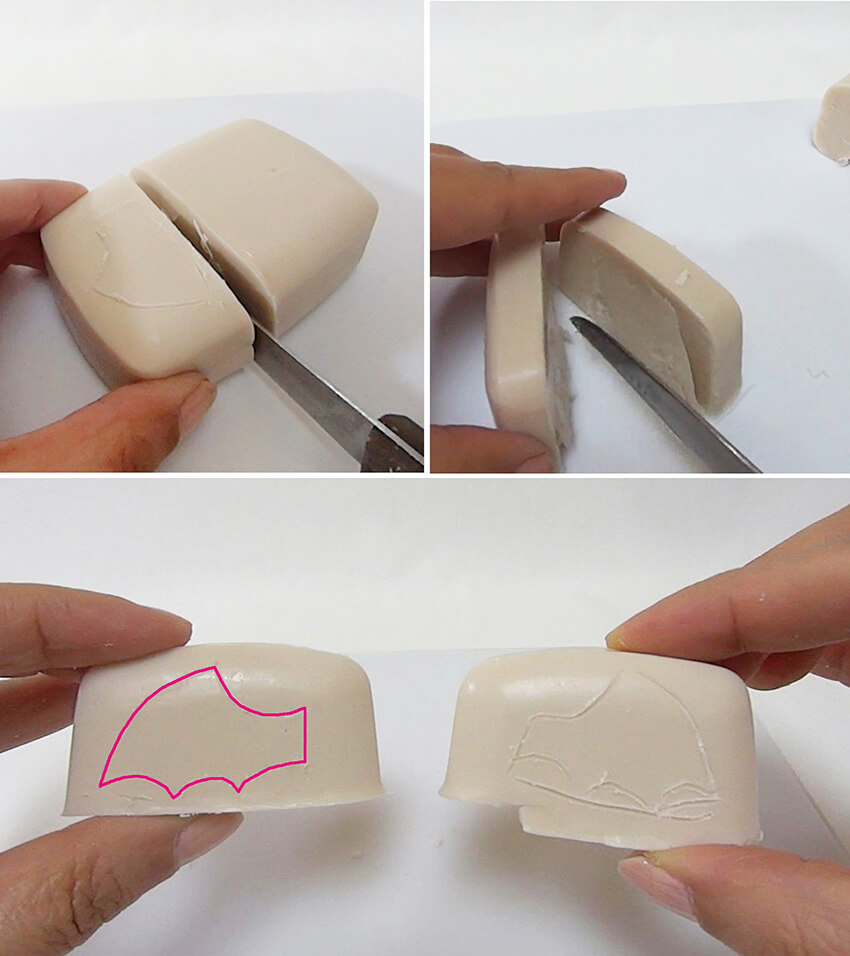
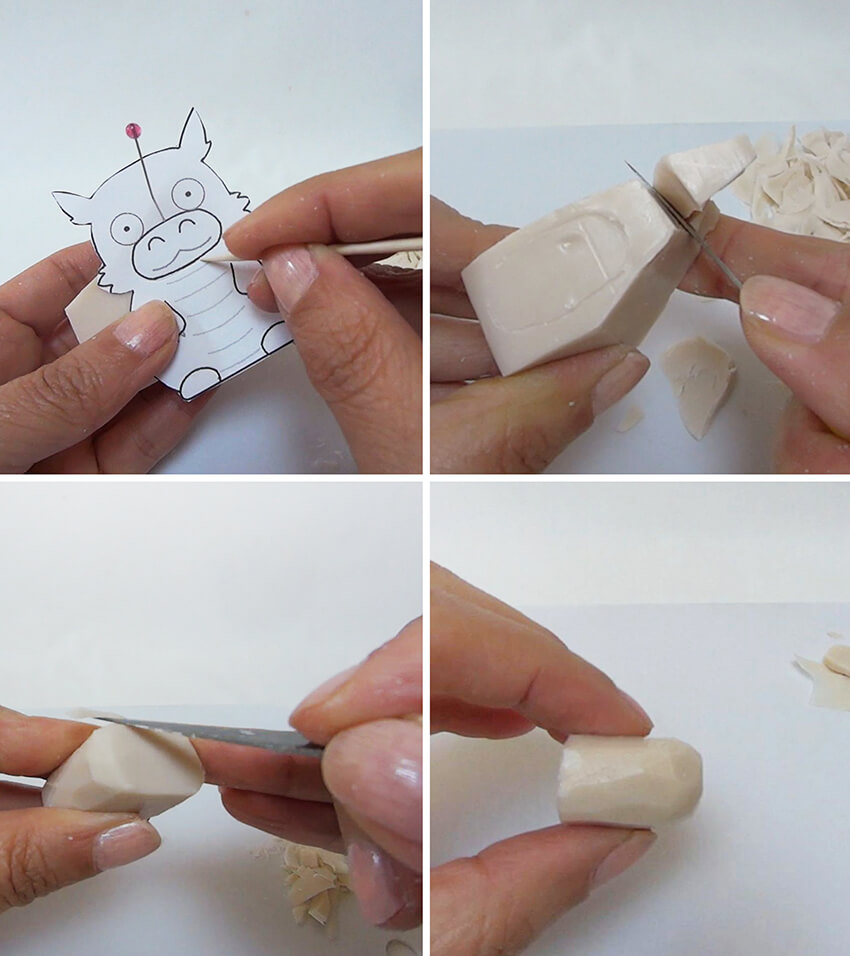
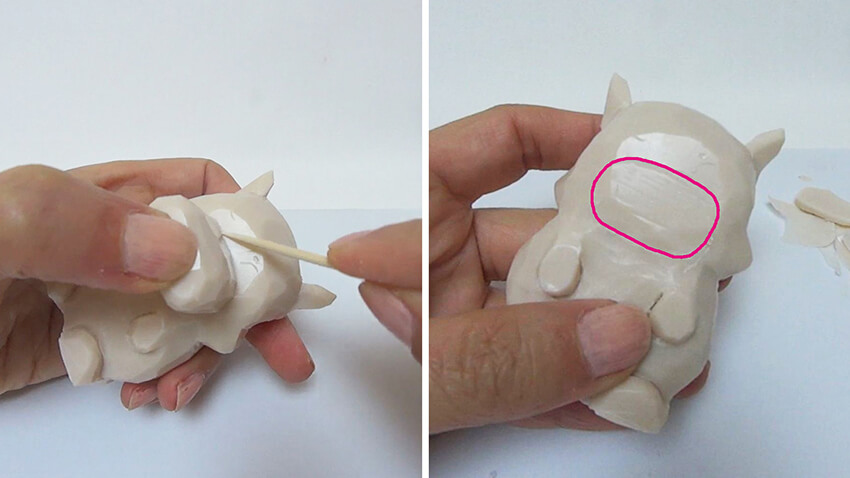
1. Thinly cut off the top and bottom of your soap to remove the brand logo and create a flat surface. Cut out the dragon templates. Trace the dragon's shape onto the soap with a toothpick.
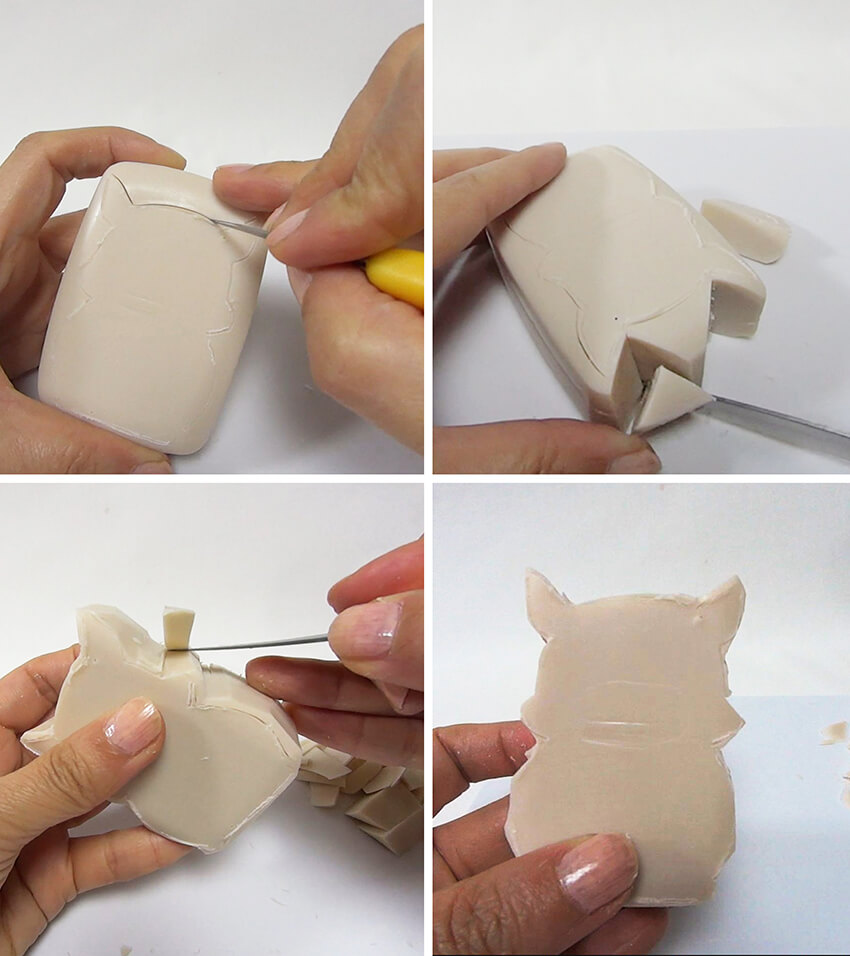
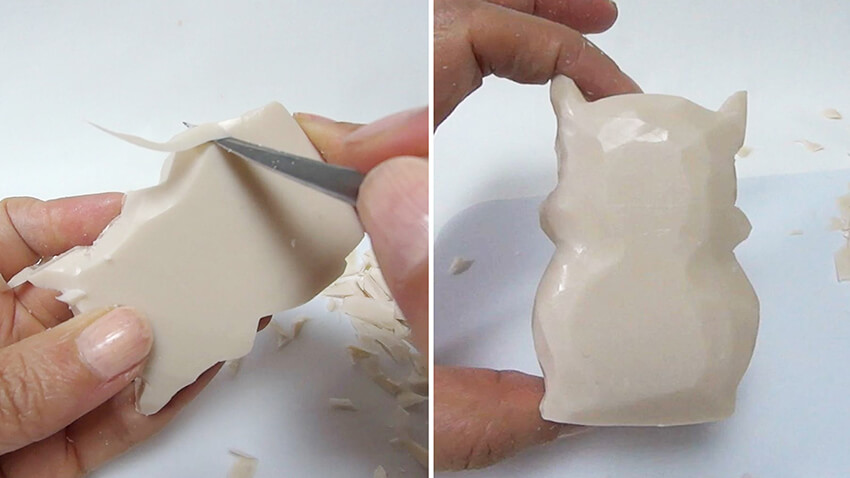
2. Lightly cut along the outline with a point of a knife, then cut out the dragon's shape a bit bigger than the outline you traced in previous step. Cut off the excess soap with a carving knife.
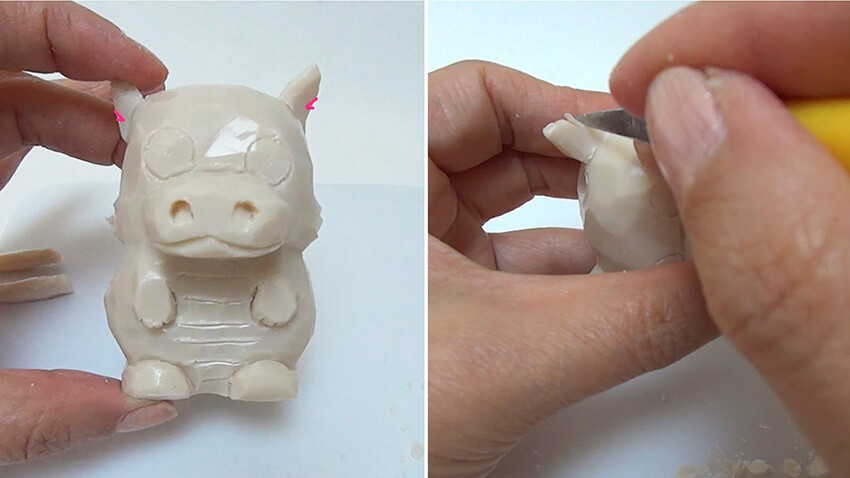
3. Cut off the excess part of ears highlighted in pink.
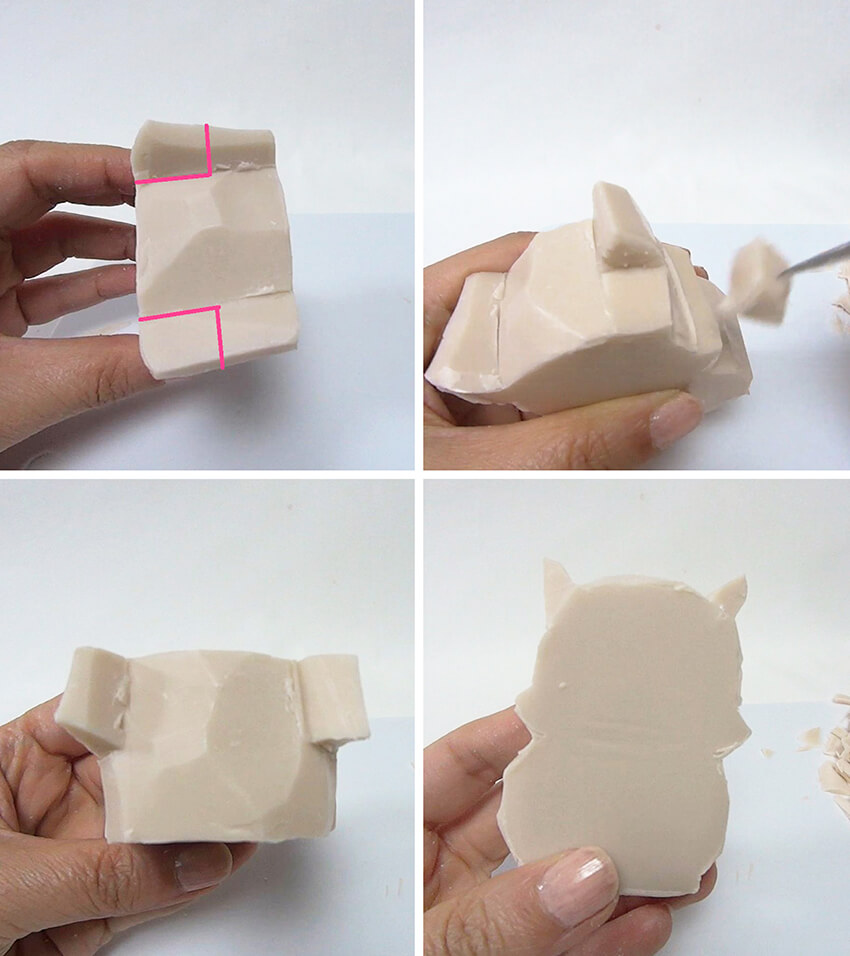
4. Round the edges of the front and back.
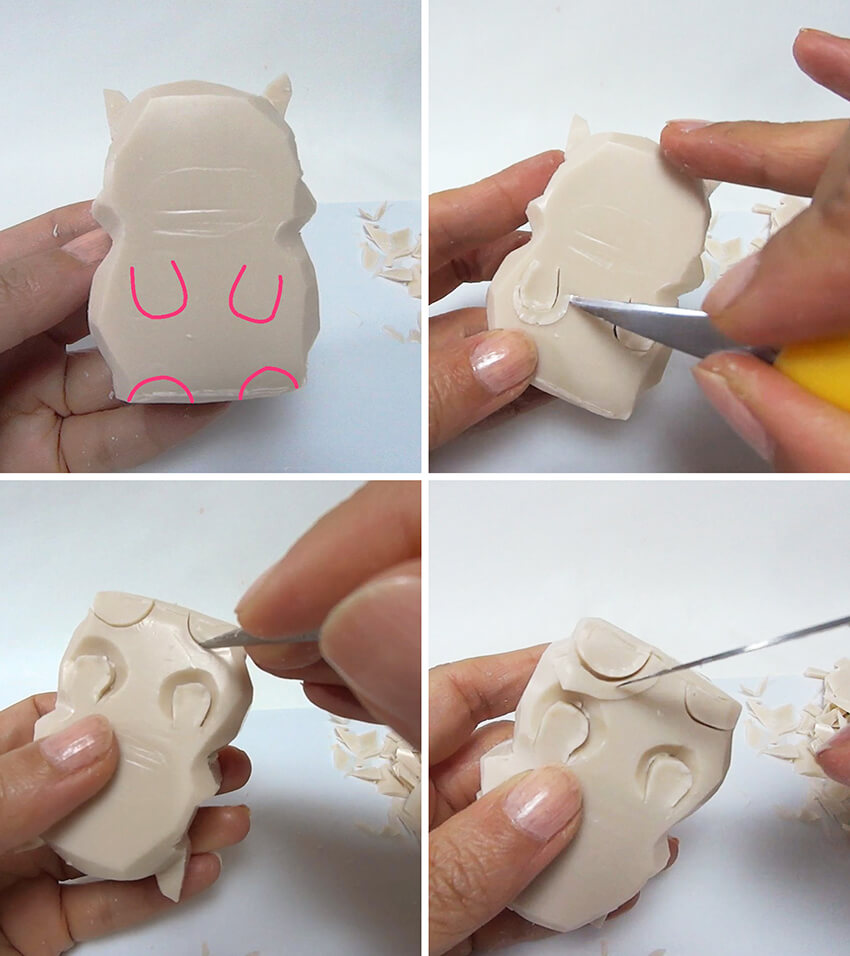
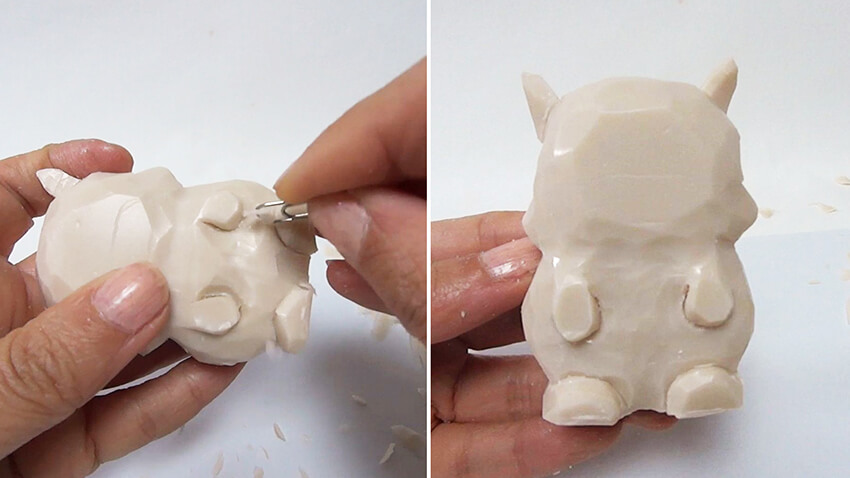
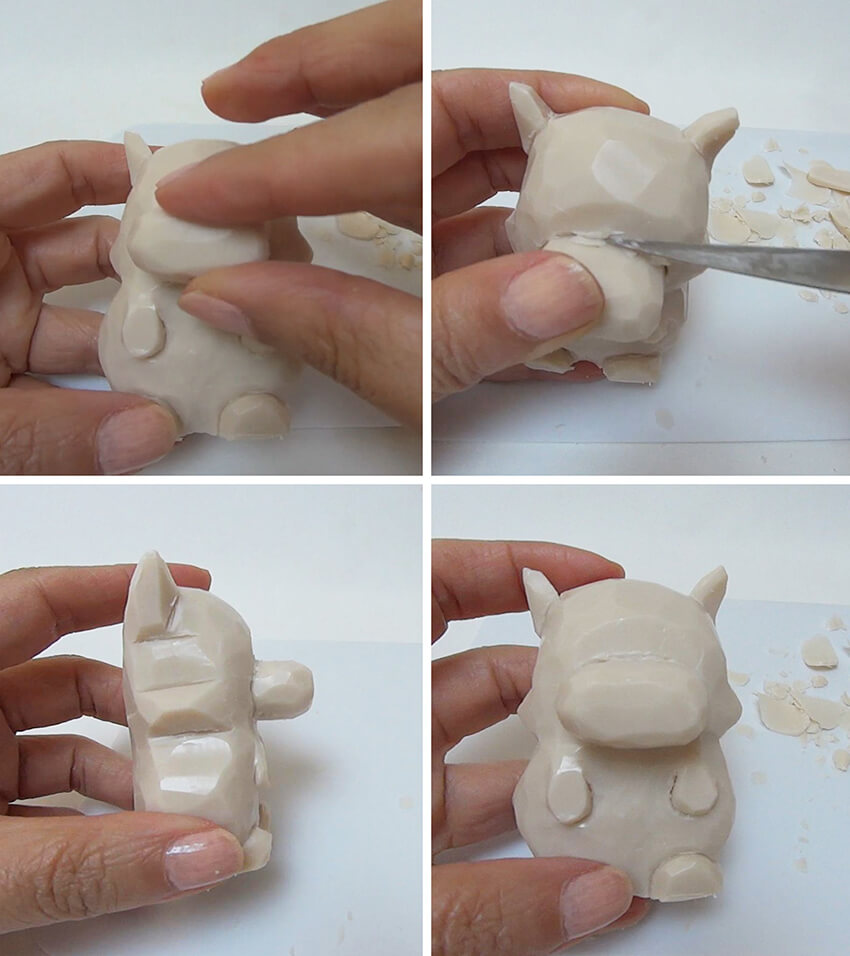
5. Holding your knife vertically, cut along the outlines of four legs, then holding your knife at an angle, cut off the soap around the legs.
6. To make the legs look three-dimensional, cut off the soap at the sides of the belly.
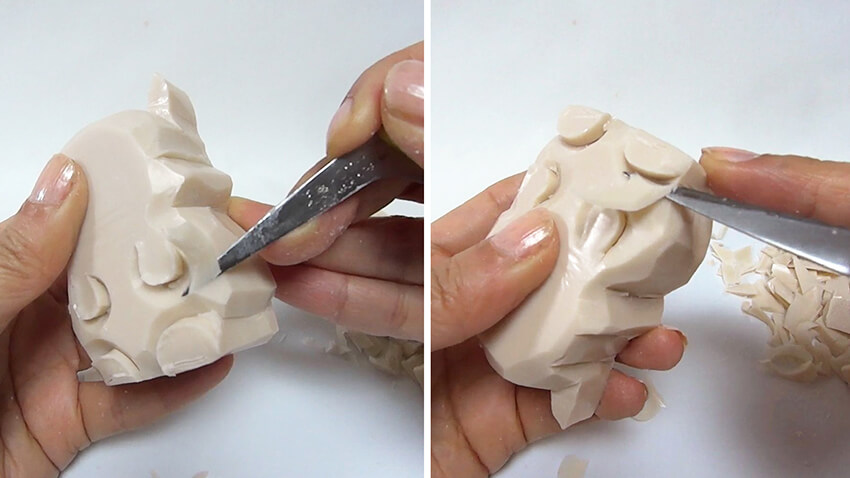
7. Round the edges of the legs.
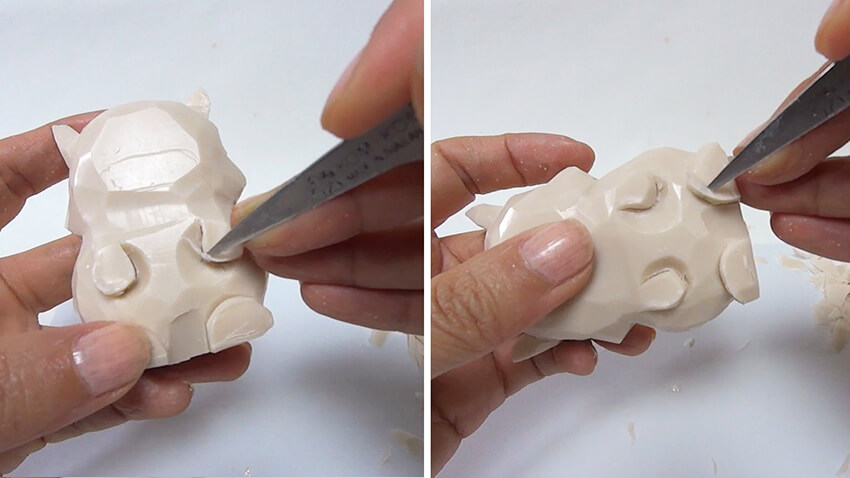
8. Using a paper clip, scrape out the soap between the legs.
9. Round the edge of the back.
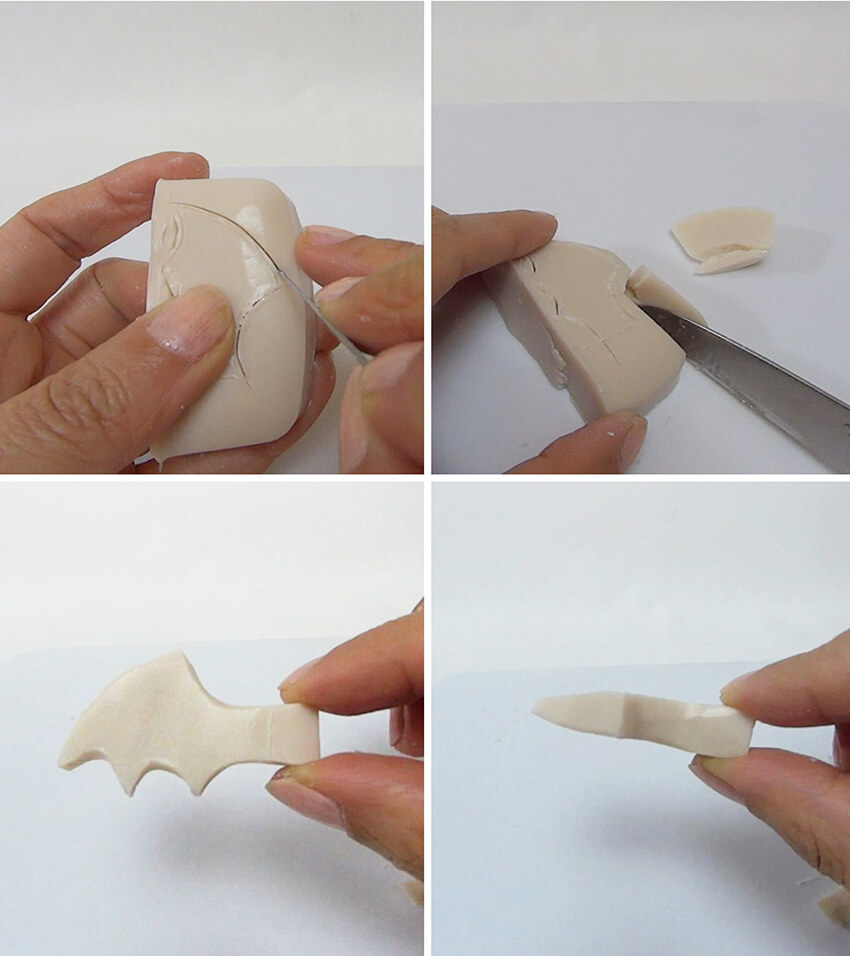
10. Cut two pieces of soap out of another bar soap. Then, trace the shape of wings onto them.
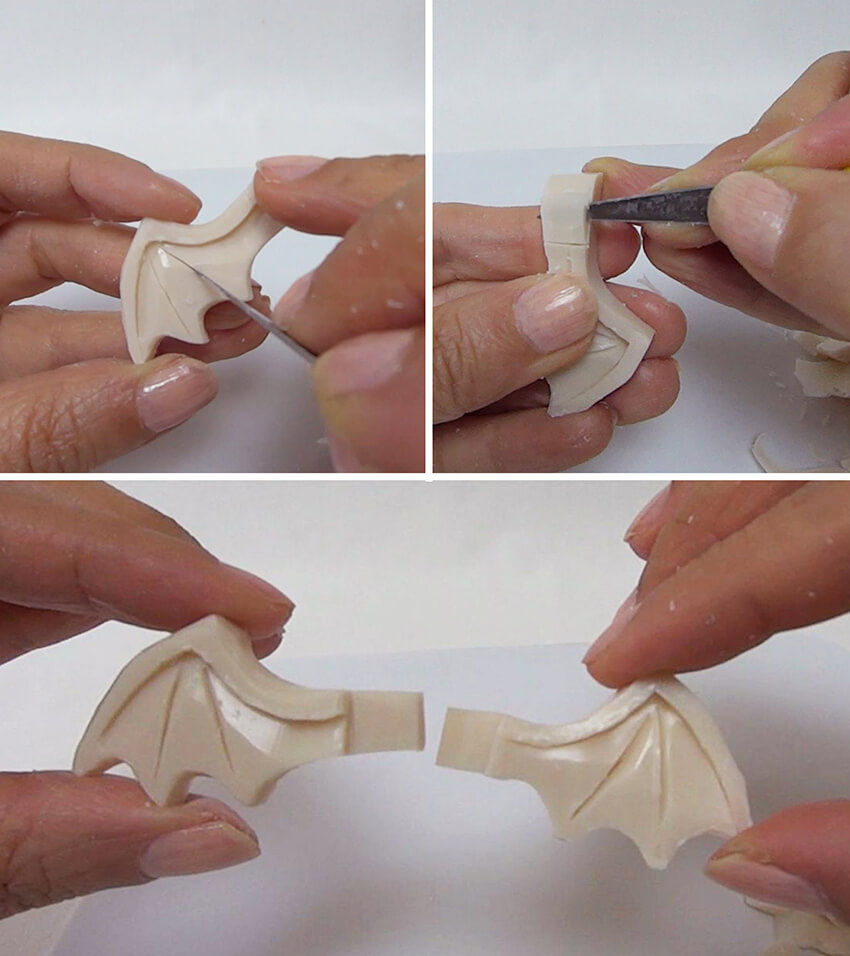
11. Cut out the two wings, then make it thin and shape them.
12. Carve the wing pattern in both sides. Then, make the end of the wing a bit thinner as shown. Repeat to another wing.
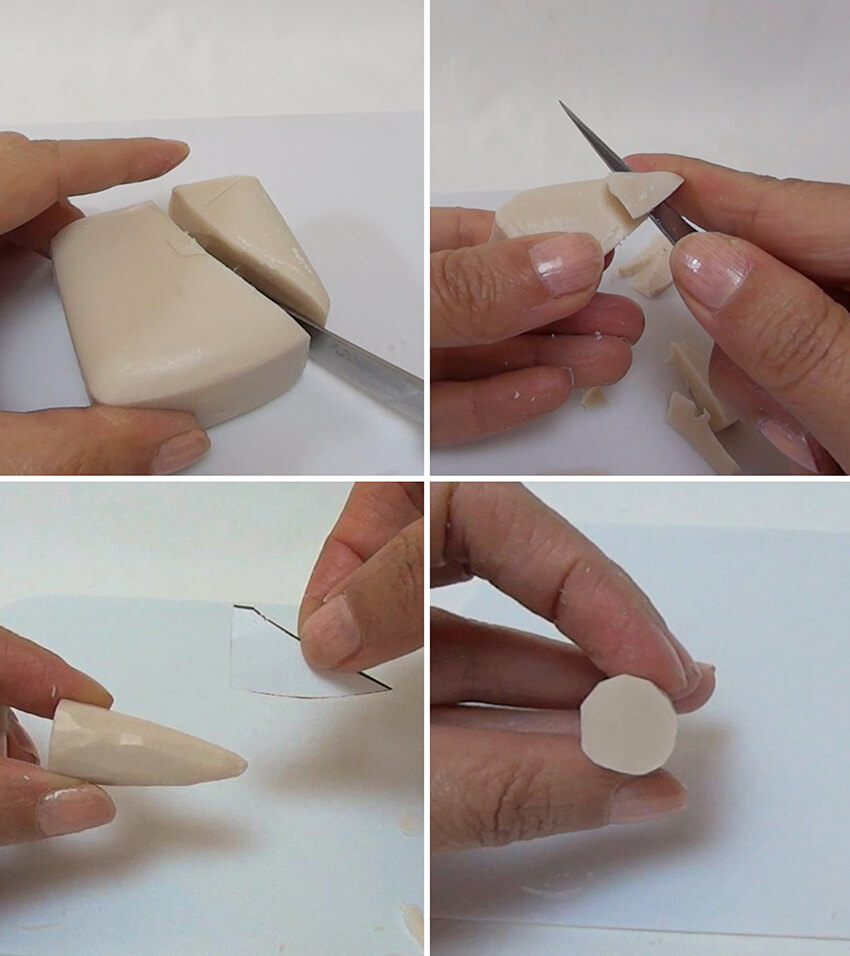
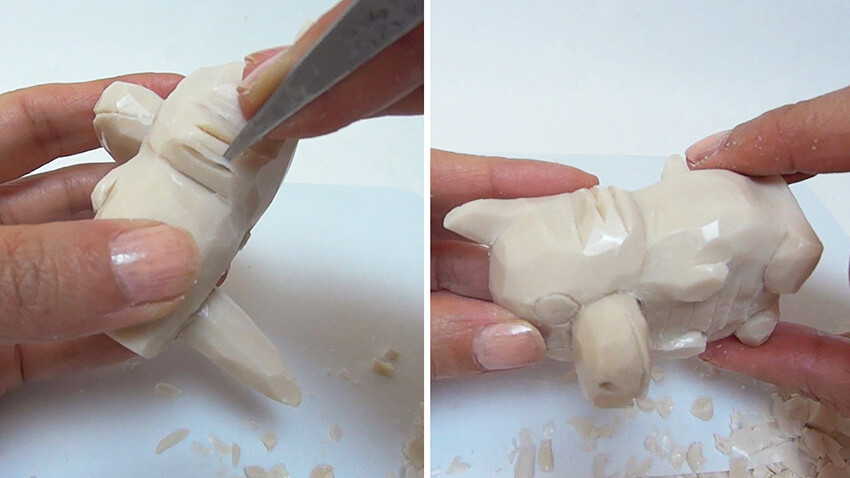
13. Cut off a piece of soap, trace the shape of the tail onto the soap, then cut out and shape it.
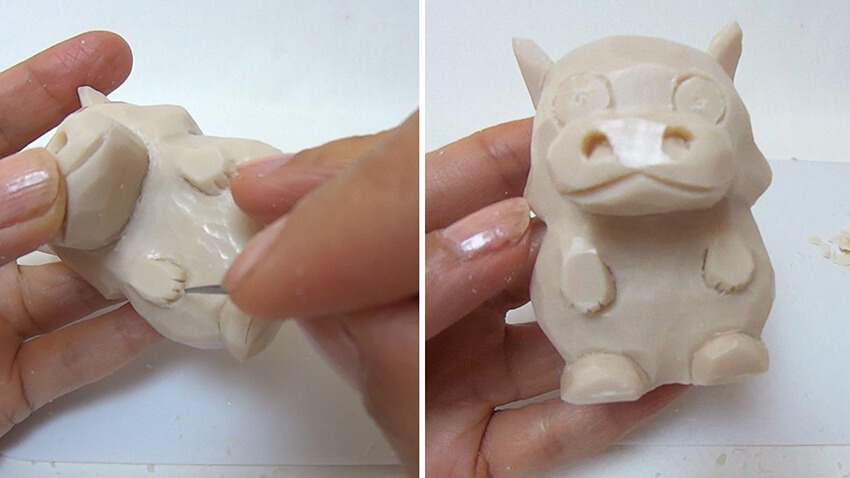
14. Make the muzzle in the same way as the previous step.
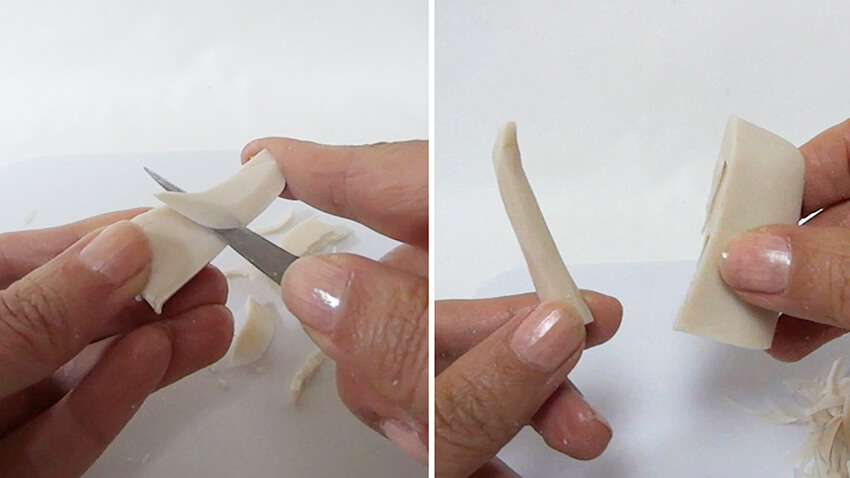
15. Make two horns as well. Horns are simple, so you can make them without the template.
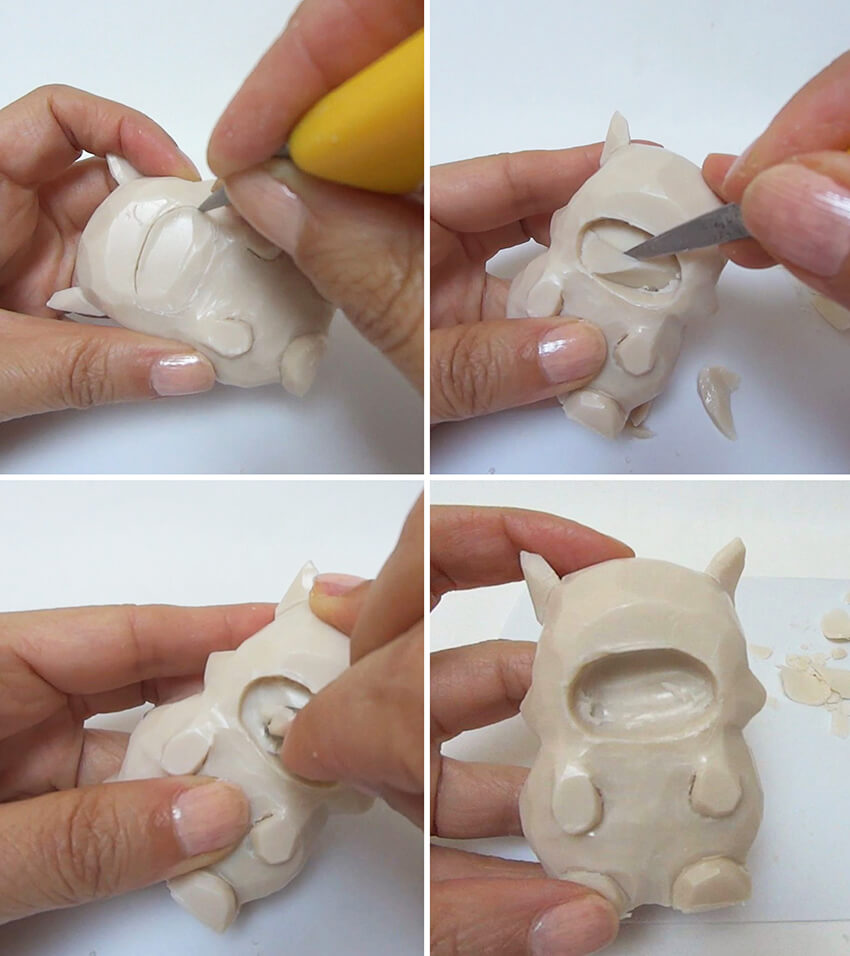
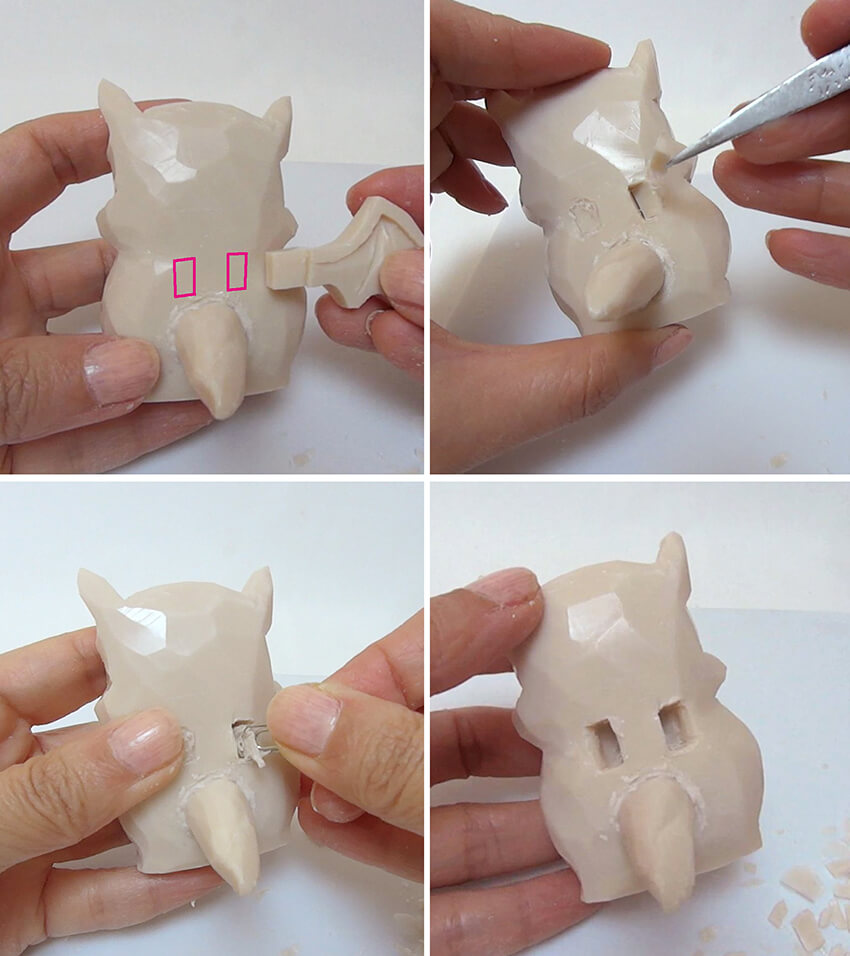
16. Place the muzzle on the dragon's face and trace around the edge of it.
17. Holding your knife vertically, cut along the muzzle shape and cut off the inside. Then, scrape out the inside with a paper clip.
18. Place the muzzle on the face. Tip: If there is any gap, fill it with soap scraps.
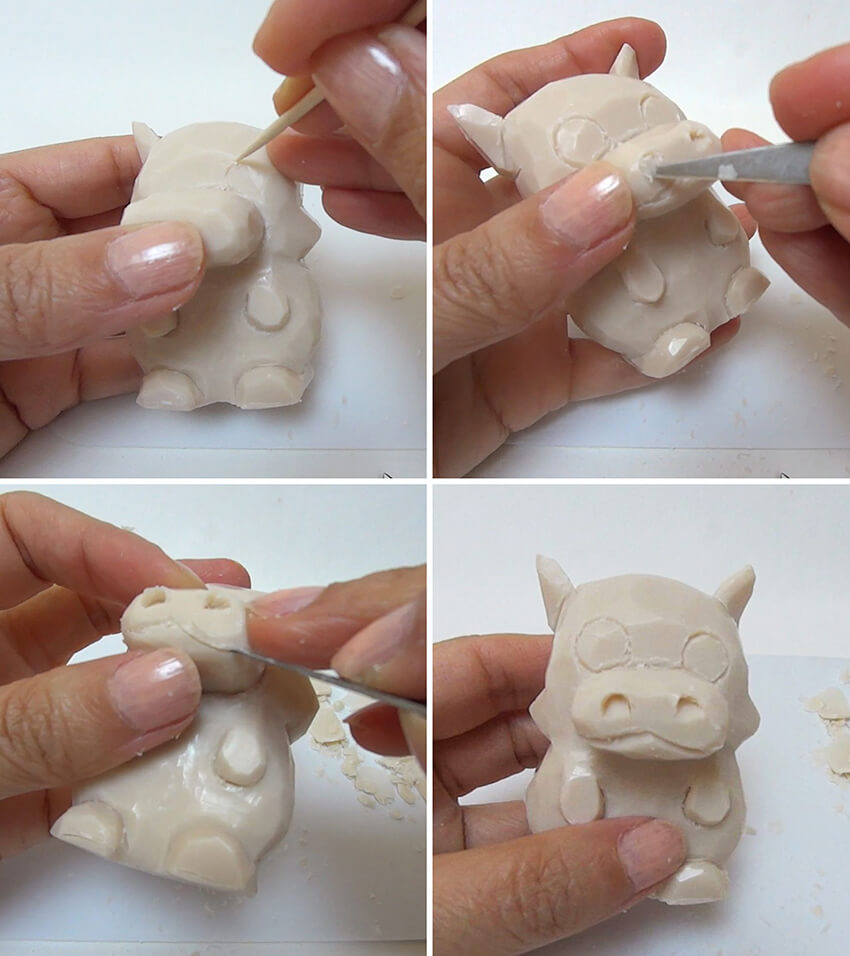
19. Draw the outline of the eyes, nostrils and mouth, then carve them.
20. Carve the claws in fore legs.
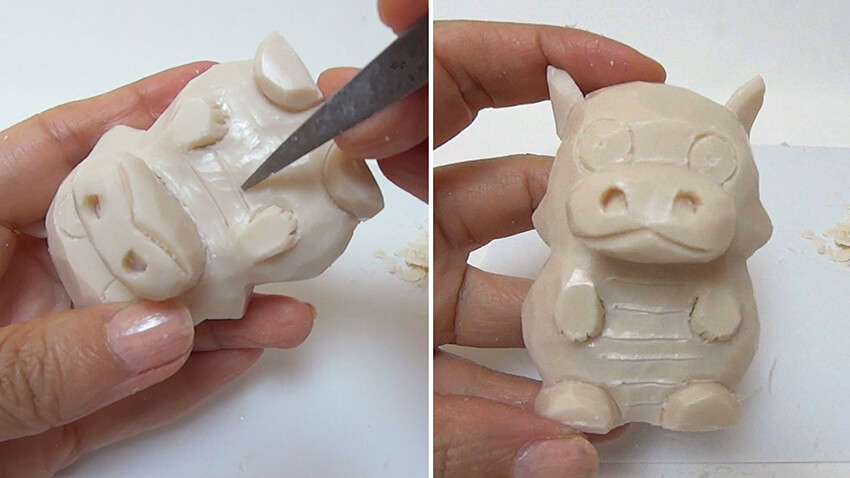
21. Carve several straight lines in the belly.
22. Fix the tail to the back in the way as the muzzle (See steps 16-18).
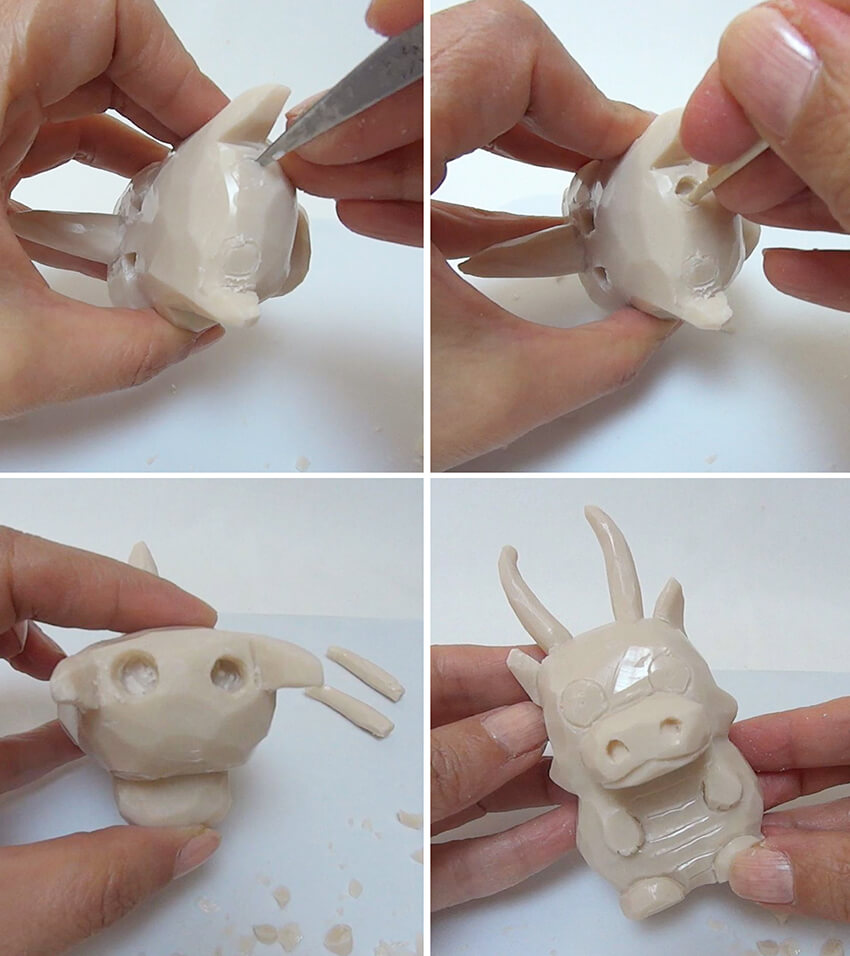
23. Carve two grooves in each side of the face.
24. Make a small cut on the edge of each ear.
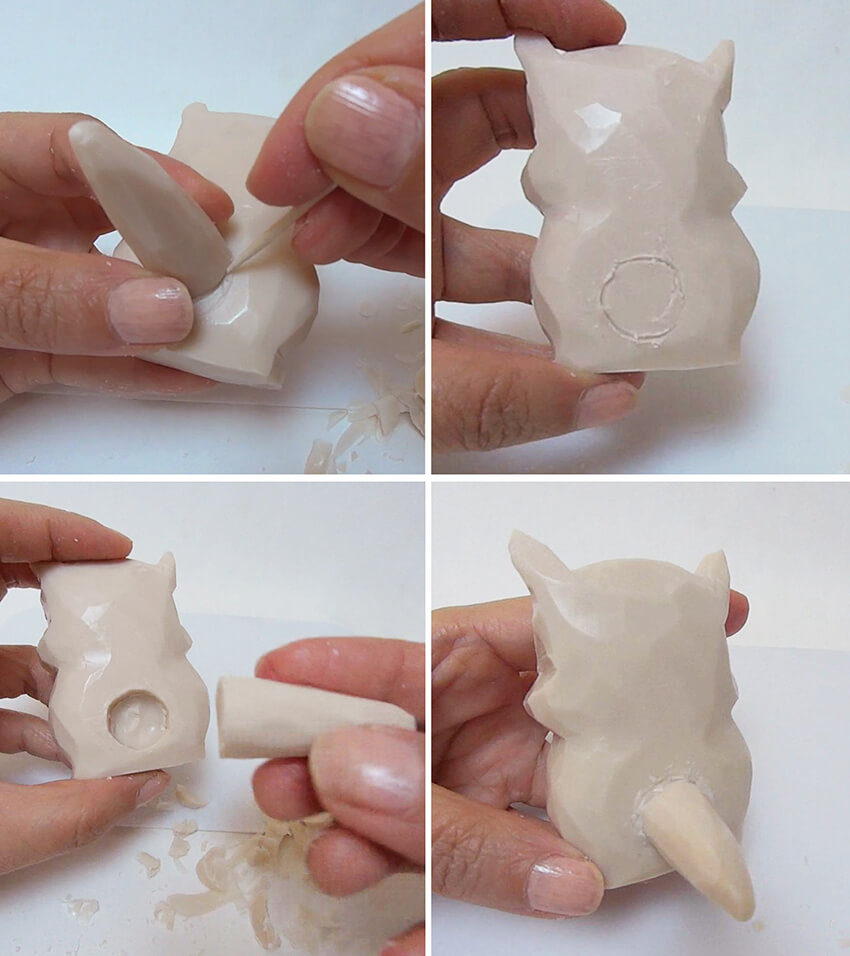
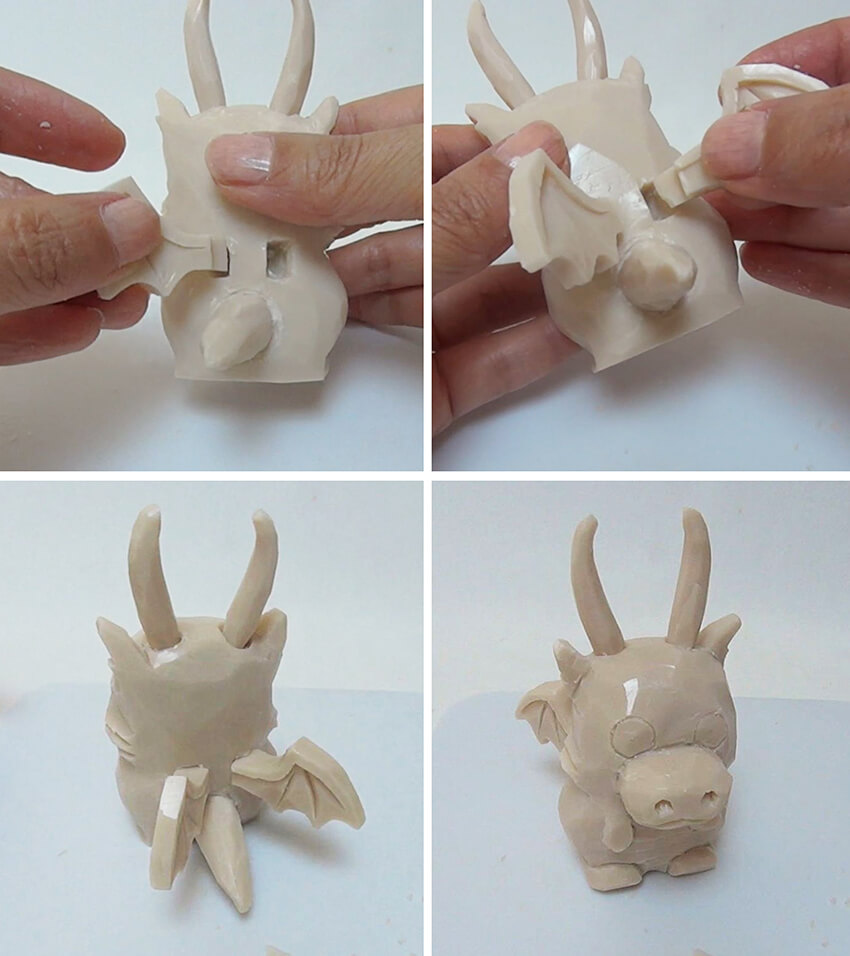
25. Make two square holes in the back to fix the wings.
26. Make two round holes in the head (I used a toothpick), then place the horns in them. Tip: Apply little water to fix them.
27. Place the wings in the square holes.
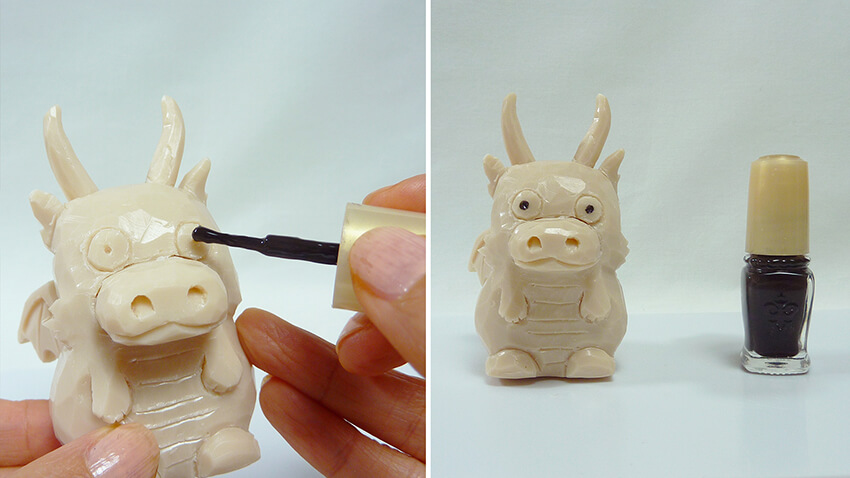
28. Paint the eyes with nail polish and remove the excess polish with a carving knife.
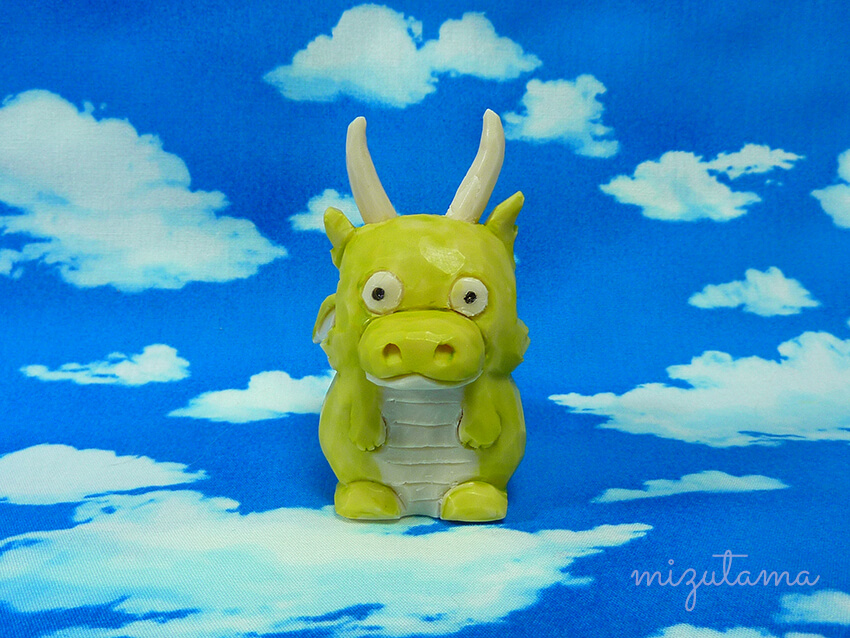
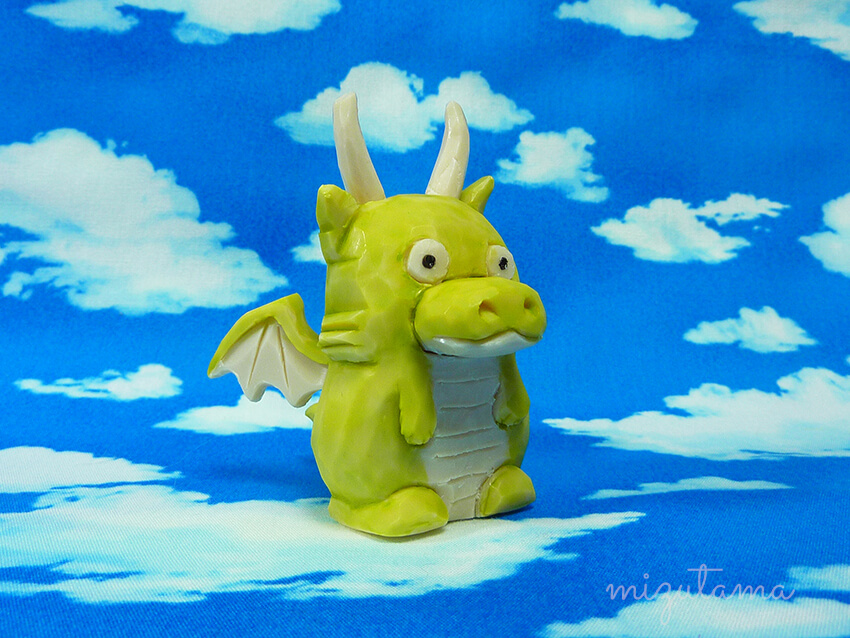
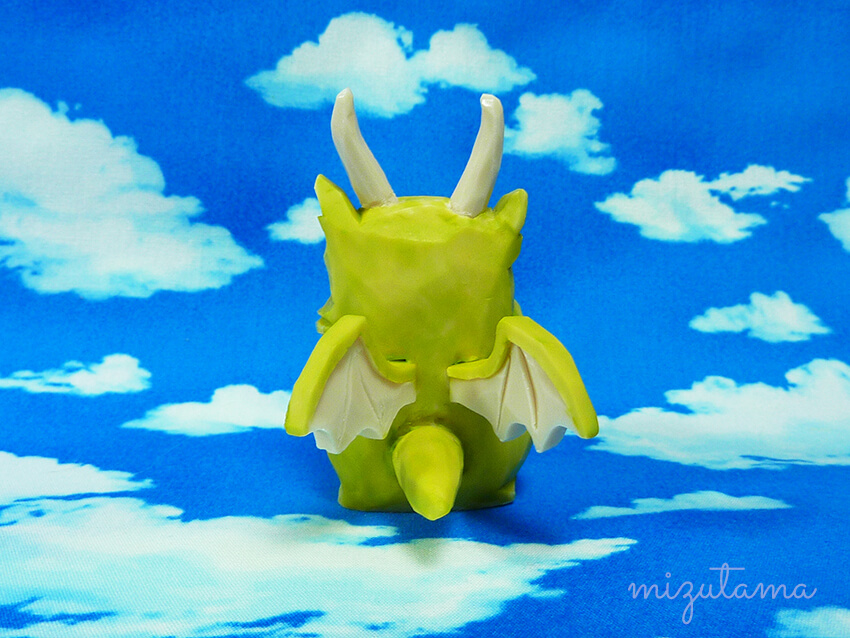
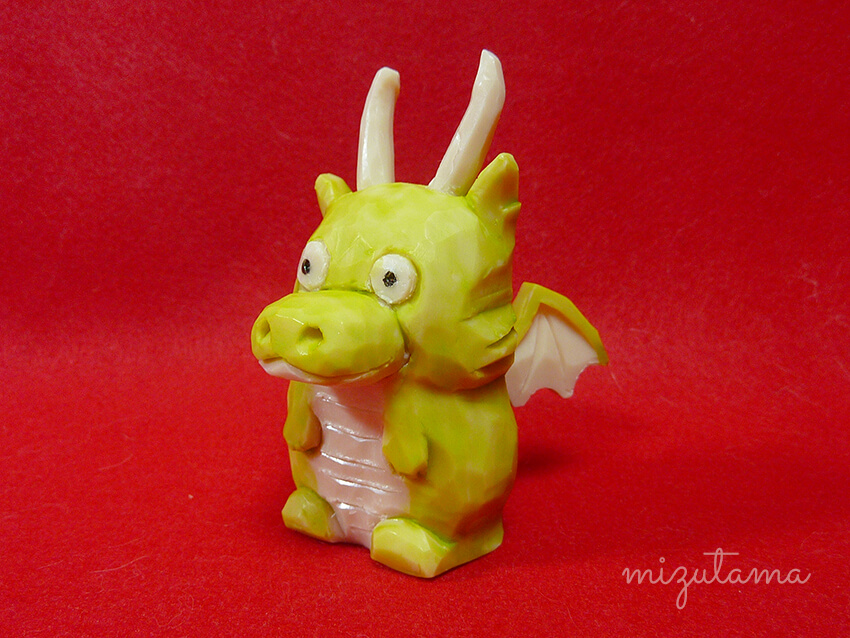
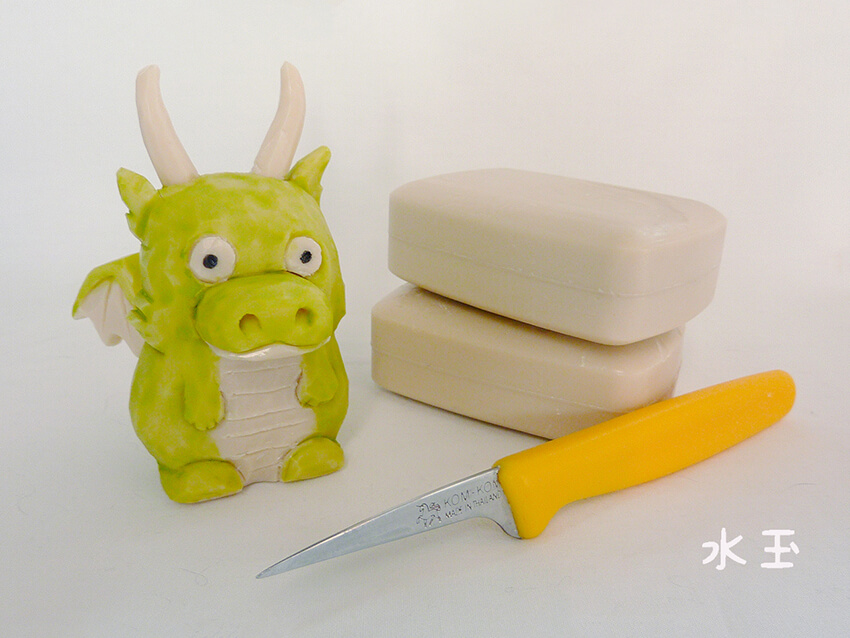
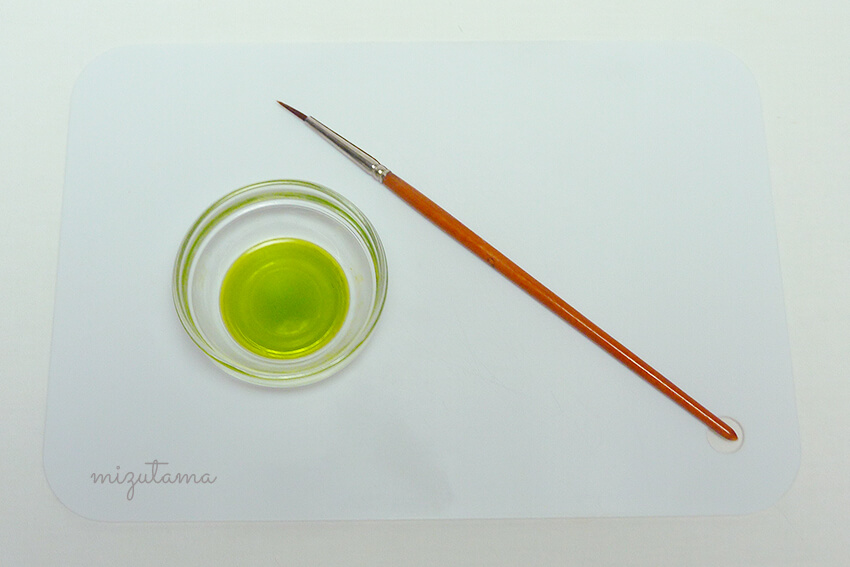
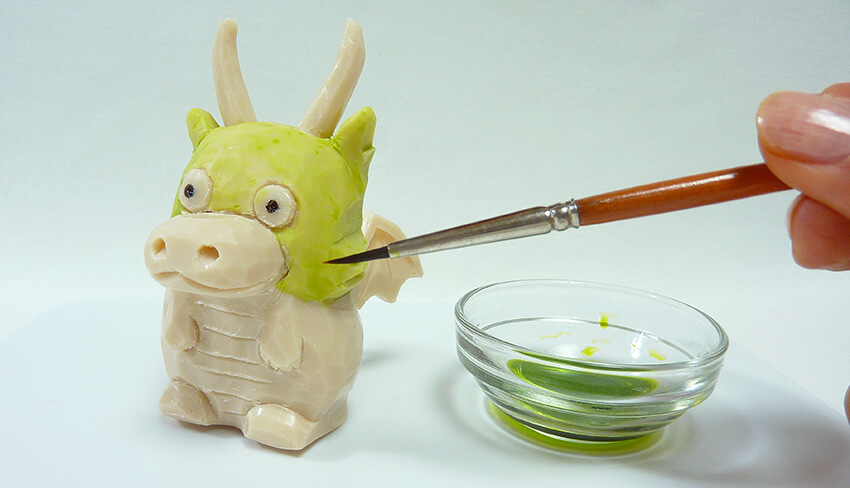
29. Paint the dragon with food coloring diluted with water. Done!
✨
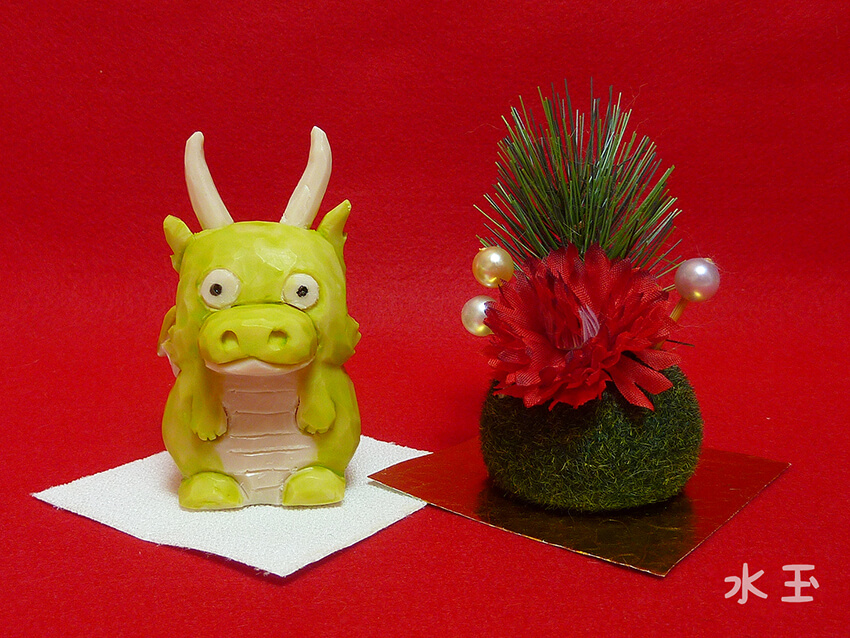
Did you know?
2024 is the Year of the dragon according to Japanese zodiac. I made them as new year decorations! This dragon combines features of European and Asian ones.